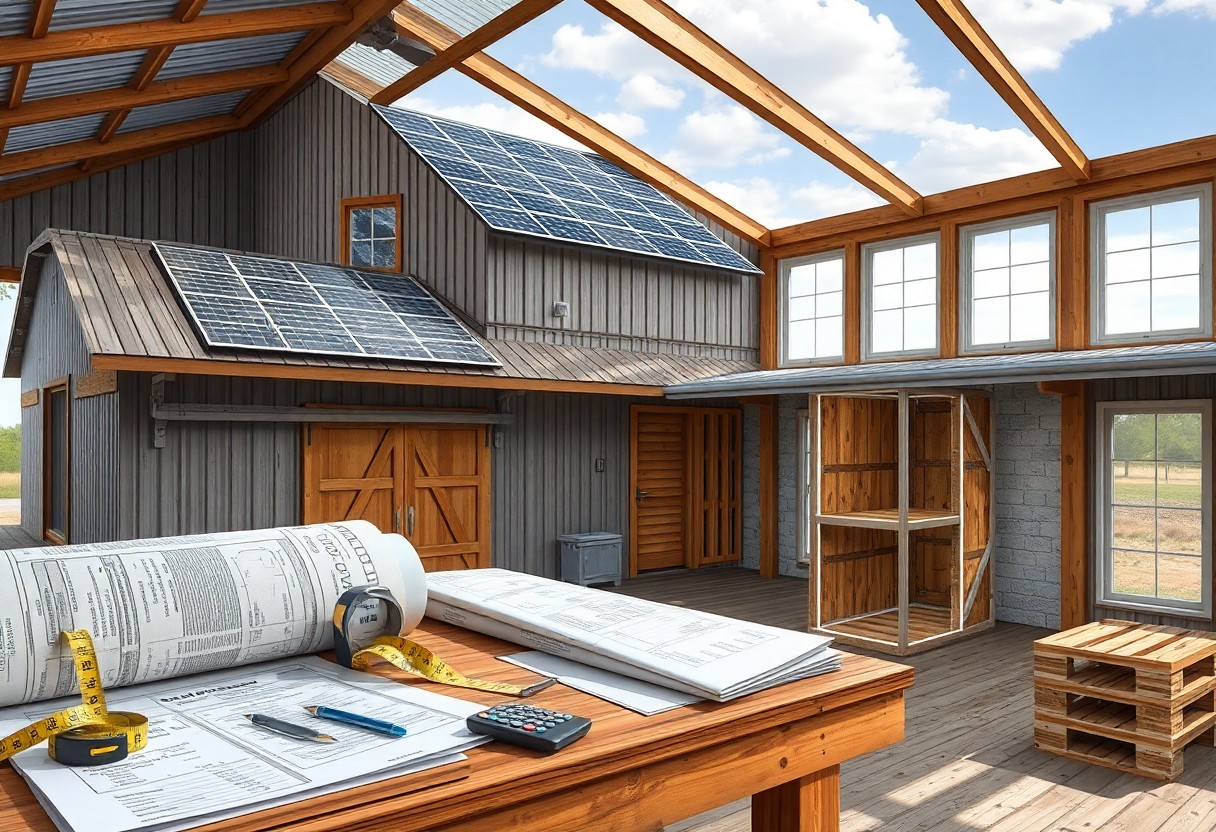
There’s a clear method to estimate barndominium cost per sq ft so you can set a realistic budget and avoid surprises. By breaking costs into site prep, shell, systems, interior finishes, permits and labor, and applying local rate research plus a contingency buffer, you can forecast total spending, prioritize upgrades, and make informed trade-offs to keep your build on schedule and within budget.
Key Takeaways:
- Expect roughly $80-$200+ per sq ft for a barndominium; metal shell and basic finishes sit at the low end, full custom interiors and difficult sites push costs higher.
- Major cost drivers are site prep and foundation, insulation and HVAC, utility hookups, and interior finishes-finishes and custom work have the biggest impact on per‑sq‑ft price.
- Budget with an itemized estimator, include soft costs (permits, design, utility fees), and hold a 10-20% contingency for unexpected site or supply issues.
Understanding Barndominium Costs
When estimating your barndominium budget, separate costs into shell, foundation, interiors, site work and utilities; typical nationwide ranges run $80-$200+ per sq ft. You should plan for shell-and-basic-finish builds near $80-$120, mid-range installs $120-$160, and high-end custom finishes $160-$220+. Also factor in regional labor, permit fees and upgrades like enhanced insulation or vaulted ceilings, which can shift totals by 10-30%.
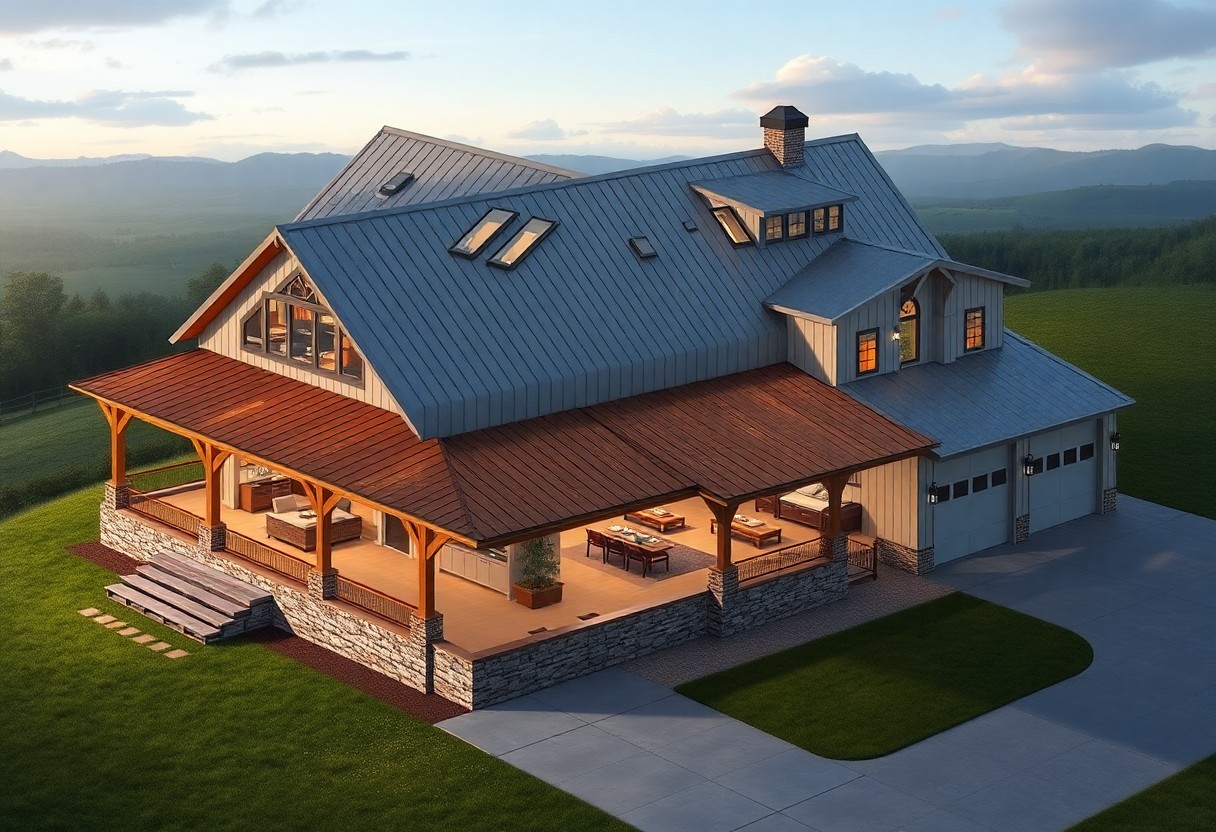
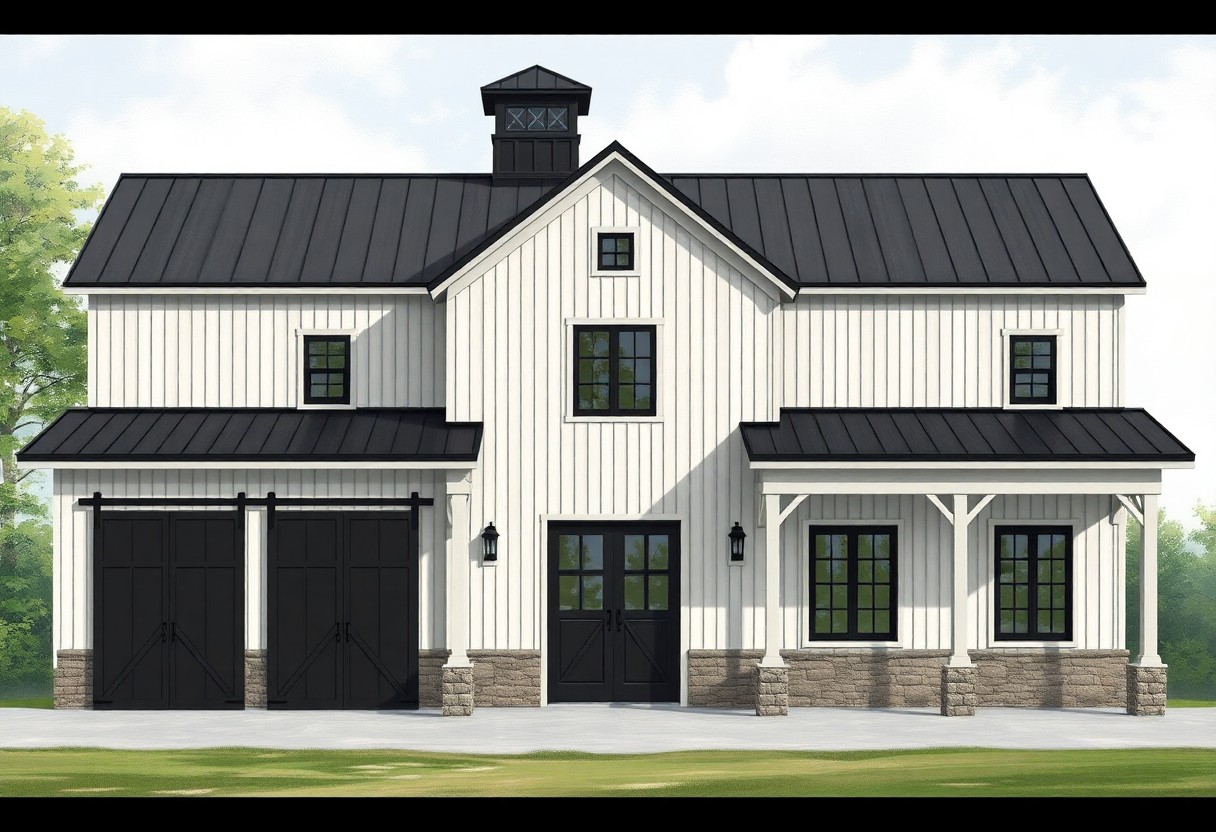
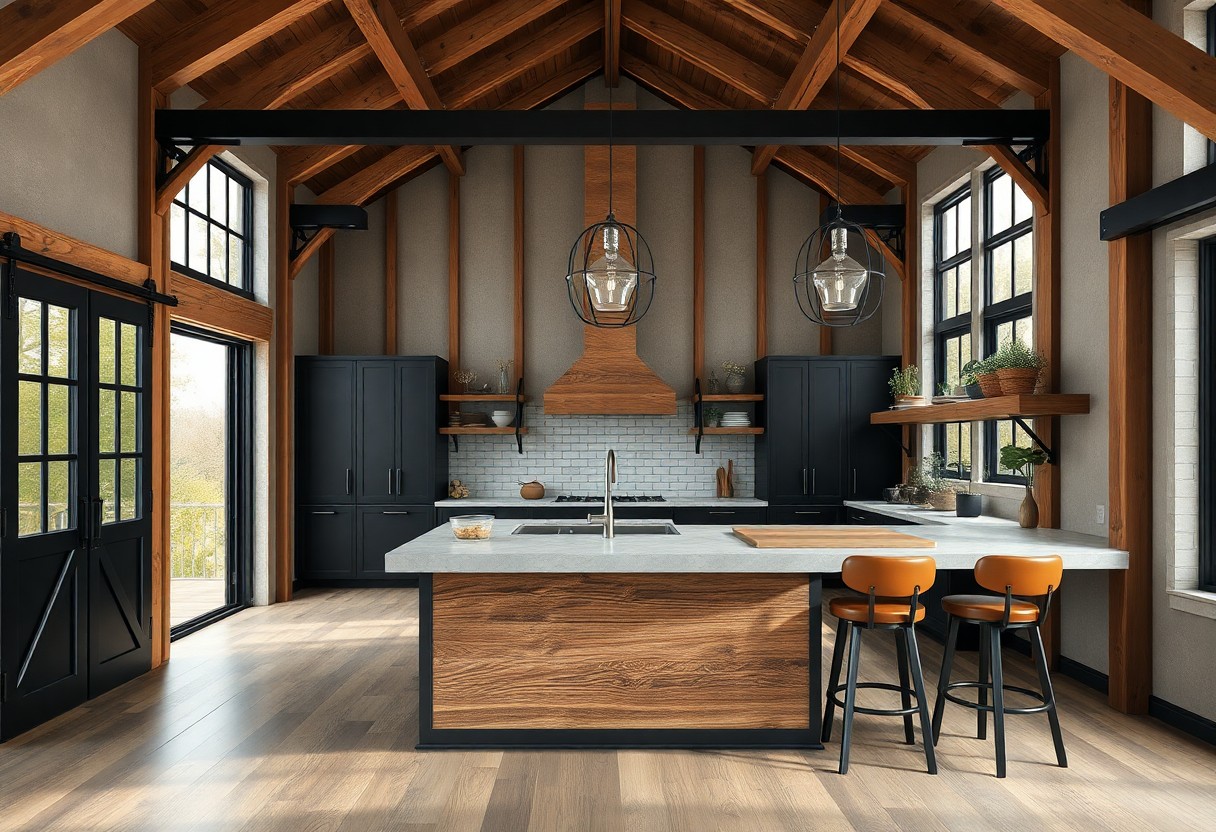
What is a Barndominium?
In practice, a barndominium blends an agricultural-style metal or post-frame shell with full residential finishes, giving you an open-plan living space often built from steel kits or converted barns. You’ll commonly see sizes from 1,200 to 3,000 sq ft; for example, a 40×60 kit (2,400 sq ft) can cost $40k-$80k for the shell, with finishes adding $120k-$300k depending on choices.
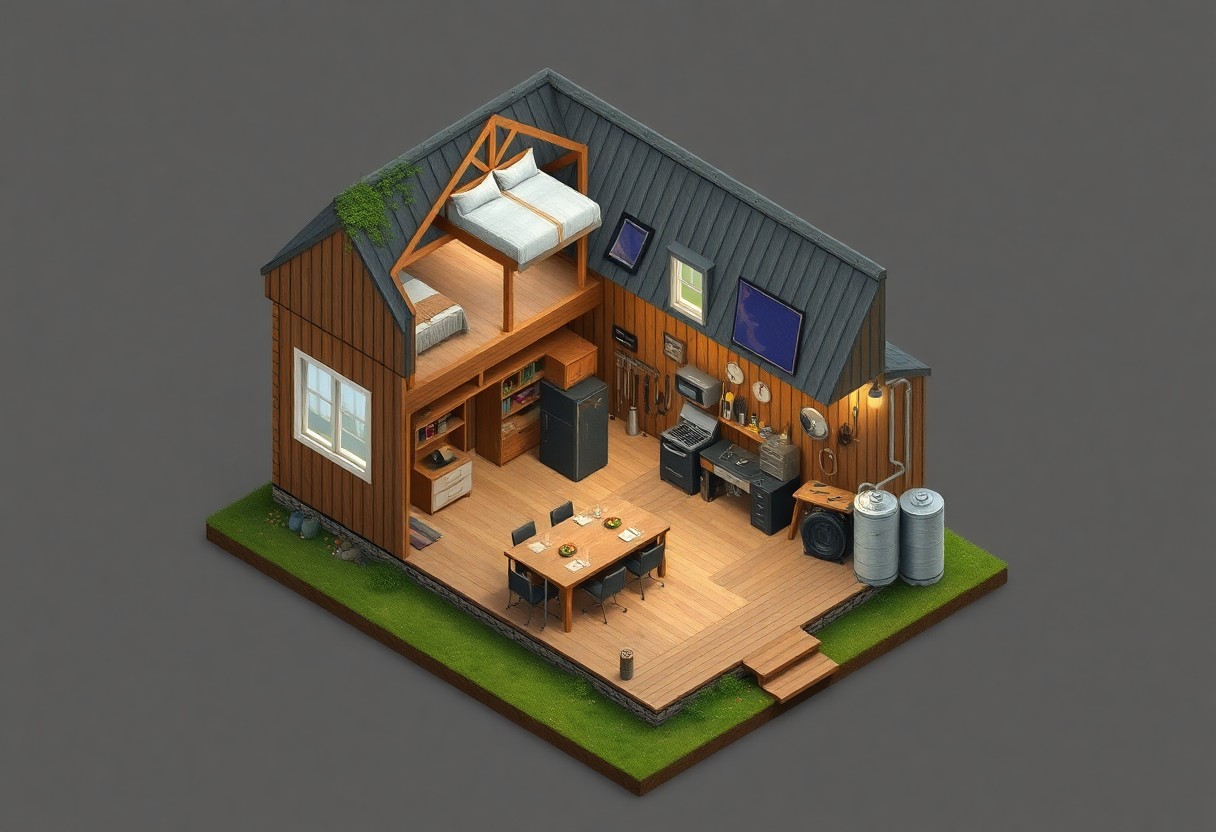
Cost Per Square Foot Breakdown
You can break costs into tiers: basic (shell, slab, minimal finishes) $80-$120/sq ft; mid-range (better insulation, standard kitchen/bath) $120-$160/sq ft; and high-end (custom cabinetry, premium HVAC, architectural touches) $160-$220+/sq ft. For context, a 2,000 sq ft mid-range build typically runs $240k-$320k, while a high-end version may exceed $400k.
Digging deeper, line-item drivers include foundation type (slab-on-grade often $6-$12/sq ft), HVAC and ducting ($8k-$20k), and site prep ($5k-$30k for grading, drainage, driveways). You’ll add $10k-$40k for upgraded kitchens/bath fixtures and $5k-$15k for energy-efficiency upgrades; swapping a basic roof for standing-seam metal can add $6k-$12k but improves longevity and resale.
How to Budget Your Build
When you budget your build, convert your target per‑sq‑ft into a project total and layer in soft costs, site work, and contingency. For example, a 2,000 sq ft barndo at $120/sq ft is $240,000; adding 10% contingency and roughly 6% for permits/fees raises the estimate to about $269,400. Break the project into shell, interiors, utilities and permits so you can reallocate funds as design choices change.
Establishing a Budget
Start by listing hard costs (shell, foundation, finishes), soft costs (design, permits, inspections) and reserves. Typical splits: shell 30-50%, interiors 25-40%, site/utilities 5-15%, permits/fees 3-7%, contingency 5-10%, plus contractor markup of 10-20%. Use a spreadsheet to map these percentages to your sq ft total so you can see how a $10/sq ft upgrade to finishes impacts the overall price.
Prioritizing Features and Amenities
Decide which features deliver the most value to your lifestyle and resale: kitchens and primary bathrooms often consume 20-30% of interior budgets, while energy upgrades (insulation, windows, HVAC) may add 3-7% but lower operating costs. You can save by selecting mid‑range cabinets and fixtures-basic kitchens might be $10k-$20k, high‑end $30k-$60k-so prioritize what you use daily.
Value‑engineer by phasing nonimportant items, choosing stock over custom where it won’t show, and allocating a clear upgrade line in your budget (for example, reserve 8-10% for finish upgrades). A concrete example: swapping custom cabinets for semi‑custom can cut kitchen costs by $5k-$12k, freeing funds for better windows or HVAC that improve comfort and long‑term savings.

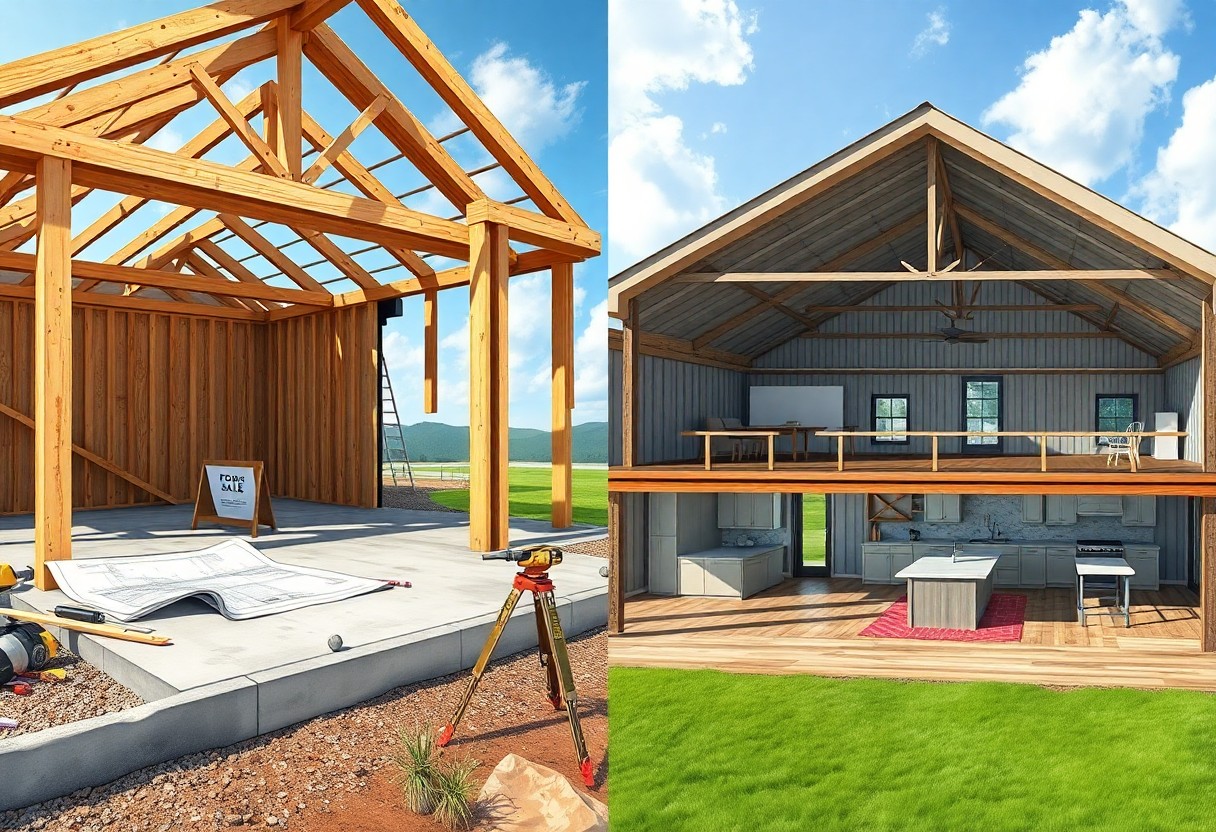
Key Factors Influencing Costs
Major drivers include site conditions, shell type, finish level, and labor market; a steep lot with rock can add $10k-$50k for grading and blasting, while a flat rural parcel may only need $2k-$10k. You’ll also face permit, utility hookup, and foundation decisions-pier foundations vs slab vs full basement change both upfront and lifecycle costs. This impacts your per-square-foot target and contingency allocation.
- Location & land development
- Foundation and site prep
- Shell type (metal kit vs stick-built)
- Insulation, windows, and energy systems
- Interior finishes and custom work
- Labor availability, subcontractor rates
- Permits, utilities, and inspections
Location and Land Expenses
Your land choices move the needle: rural land can be $1,000-$10,000 per acre in many areas, while suburban or scenic parcels commonly run $30,000-$200,000+ per acre. Expect site prep-grading, erosion control, culverts-at $2k-$15k; septic systems $3k-$10k; wells $3k-$12k; and utility hookups $1k-$10k depending on distance. Floodplain, steep terrain, or HOA restrictions add extra costs and design constraints.
Material Choices and Suppliers
Choosing a 26-gauge metal shell versus timber framing shifts both material and labor: standing-seam roofing installs about $5-$12/ft², metal wall panels $3-$8/ft², and insulated metal panels $8-$20/ft² installed; meanwhile lumber volatility has swung 1,000 board-feet from ~$400 to ~$1,500 in market spikes. You’ll see price differences between local dealers and national distributors, and lead times can add carrying costs.
When you dig deeper, sourcing strategy matters: a pre-engineered steel building kit for a typical 40×60 shell (2,400 sq ft) often ranges $20k-$50k depending on gauge, truss system, and included extras, cutting framing labor by 30-50% compared with stick-built. Local suppliers may charge higher unit prices but reduce freight and allow faster replacements; national suppliers offer volume discounts but longer lead times and potential coordination fees. You should request itemized quotes, compare installed costs (not just material invoices), and push for fixed-price scopes or material price caps to limit exposure during volatile markets.
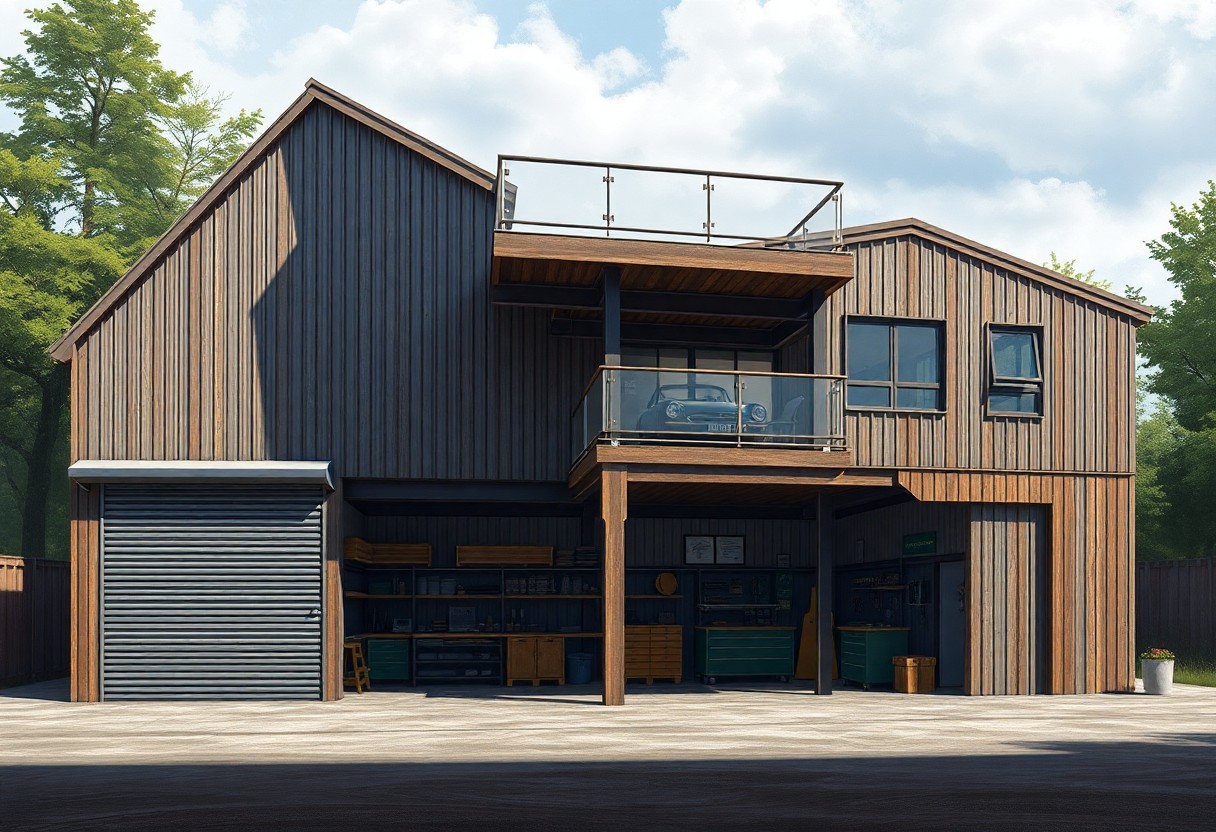
Tips for Reducing Expenses
You can shave thousands by standardizing your plan and prioritizing the shell: choosing common footprints like 30×50 or 40×60 cuts custom framing and foundation premiums, and a prefab metal shell can reduce framing time and labor costs by several thousand dollars on a 2,000 sq ft project. Opt to finish high-end surfaces later and lock prices on long-lead items. The biggest savings come from combining simplified design, bulk purchasing, and phased finishing.
- Pick standard bay sizes to minimize custom steel and foundation costs.
- Use a metal shell and open-plan layout to reduce labor hours and material waste.
- Buy windows, doors, and appliances in bulk or during sales to save 10-25%.
- Phase interiors-complete livable areas first to spread expenses over time.
- Source reclaimed or clearance materials for accents to cut costs without degrading curb appeal.
DIY vs. Hiring Contractors
You can save 15-30% by doing cosmetic tasks yourself; on a $150,000 interior budget that equals $22,500-$45,000. Take on painting, trim, basic tile and cabinetry installation if you have time and tools, but hire licensed pros for structural steel, electrical, plumbing and HVAC to meet code and avoid costly rework; permits often require licensed sign-offs which you can’t DIY. Balance your time value against expected savings when choosing which trades to self-perform.
Timing Your Build for Savings
You’ll often get 5-10% lower contractor bids in slow seasons (late fall/winter) and better subcontractor scheduling; however, winter work can increase material handling and temporary heating costs. Shop appliances and fixtures during end-of-model sales or holiday promotions to save 10-25%, and order long-lead items (steel, windows) early to avoid 15-30% market spikes. Align your purchases with supplier lead times to lock prices and reduce rush premiums.
Plan a 12-18 month schedule: submit permits before ordering long-lead items, place deposits to lock steel and window prices (lead times commonly 8-16 weeks), and sequence trades to take advantage of low-demand months. Account for weather-related cost adjustments-cold-weather concrete pours may add 5-15% for heaters or accelerators (a $6,000 slab could rise $300-$900). The phased-occupancy approach lets you complete imperatives first and add luxury finishes during off-season sales, spreading cost and reducing financing pressure.
Financing Options for Barndominiums
Mortgage Types for Barndominiums
You’ll typically choose between construction-to-perm, renovation-backed, or conventional mortgages depending on lender comfort with metal/post-frame structures. Construction-to-perm loans usually require 20-25% down and interest-only payments during build; conventional mortgages can require 5-20% down and stricter appraisal rules for nonstandard homes. FHA 203(k) and Fannie Mae HomeStyle Renovation let you roll rehab costs into one loan, while VA and USDA offer zero-down options if you meet eligibility. Lenders often add 1-2% to the construction-rate compared to permanent financing.
- Construction-to-Perm – funds construction, then converts to 15/30-year permanent mortgage.
- FHA 203(k) – minimum 3.5% down; combines purchase and renovation under FHA limits.
- Fannie Mae HomeStyle Renovation – conventional route for larger rehab budgets and flexible scopes.
- VA/USDA – 0% down for eligible borrowers in qualifying areas or veterans with entitlement.
After the build phase, expect to refinance or convert into the permanent mortgage agreed in your construction contract, typically within 6-12 months.
| Mortgage Type | Typical Down Payment / Notes |
|---|---|
| Construction-to-Perm | 20-25% down; interest-only during build; converts to 15/30-year permanent. |
| FHA 203(k) | 3.5% down; purchase + rehab under FHA limits; lender approval required. |
| HomeStyle Renovation | Conventional down (5-20%); covers structural and cosmetic renovations. |
| VA / USDA | 0% down if eligible; USDA limited to rural areas and income caps; VA requires entitlement. |
Grants and Assistance Programs
You can tap federal and state grants to lower upfront costs: USDA Section 504 grants provide up to $10,000 for very-low-income homeowners age 62+ for repairs, while many state Housing Finance Agencies (HFAs) offer down-payment assistance packages from $3,000 to $20,000. Community Development Block Grants and local nonprofit programs also fund energy upgrades or accessibility work; eligibility often depends on county income limits and property location, so check program rules early in planning.
For more detail, search your state HFA and USDA Rural Development office-income limits commonly sit near 80% of Area Median Income (AMI) and vary by county. You can often stack DPA with FHA or conventional loans: a common example is combining a $10,000 state DPA with an FHA 203(k) to cover both down payment and $20k-$30k in renovations. Prepare pay stubs, tax returns, and property plans in advance to speed approval.
To wrap up
Upon reflecting on barndominium cost per sq ft, you should use realistic ranges, factor in site work, foundation, finishes, utilities, and local labor rates, and set a contingency of 10-20% for overruns. Prioritize decisions that control per‑square‑foot costs-plan efficient layouts, choose durable, cost‑effective materials, and get multiple bids-so you can create an accurate, flexible budget and avoid costly surprises.
FAQ
Q: What is the typical cost per sq ft to build a barndominium?
A: National averages vary widely: a basic metal-shell barndominium with minimal finishes typically runs about $80-$120 per sq ft; a mid-range build with standard finishes and mechanicals is roughly $120-$170 per sq ft; high-end or fully custom builds can exceed $170-$300+ per sq ft. Regional labor and material prices, foundation type, utility hookups, and finish level drive these ranges. To estimate, multiply your planned heated square footage by the per-sq-ft range (example: 2,000 sq ft × $140 = $280,000).
Q: Which factors most affect cost per sq ft and how should they be budgeted?
A: Major cost drivers: site preparation and grading, foundation (slab vs. crawlspace vs. full basement), structural shell (steel frame, trusses, roof), insulation and envelope upgrades, windows and exterior doors, interior finishes (flooring, cabinetry, countertops), mechanical systems (HVAC, plumbing, electrical), permits/impact fees, design/engineering, and contractor labor. A typical allocation: shell/structure 30-40%, finishes 25-35%, mechanicals 15-25%, site/foundation 10-20%, soft costs (permits/design) 8-12%. Include a contingency of about 10-15% of total budget to cover unforeseen costs.
Q: How do I create a realistic budget and keep the build on track to control costs?
A: Steps: set a target cost per sq ft and total budget; define finish levels and a prioritized features list; obtain multiple detailed, itemized bids; choose contract type (fixed-price limits surprises; cost-plus can be flexible but riskier); use allowances for finishes to let you lock a price while selecting final fixtures; track expenditures weekly against line items; manage change orders tightly; keep a 10-15% contingency and reallocate savings toward priorities. Example budget: 2,400 sq ft × $140/sq ft = $336,000 construction cost + 10% contingency = $369,600. Cost-control measures: simplify rooflines and floor plan, use standard-sized windows and doors, phase nonimperative features, consider prefab trusses or panelized components, and buy long-lead items early to avoid price spikes.