With a solid blueprint and realistic timeline, you can navigate barndominium construction from foundation to finished living space with confidence; this guide walks you through site preparation, metal shell erection, insulation and systems installation, interior framing and finishes, and final inspections so you understand each phase, make informed decisions about materials and contractors, control costs and schedule, and ensure your build meets functional and code requirements.
Key Takeaways:
- Thorough planning and accurate blueprints set the scope: site selection, permits, and utility planning prevent delays and change orders.
- Follow a clear construction sequence-foundation, metal shell erection, interior framing, systems, and finishes-to keep the project on schedule and control costs.
- Budget and finish strategy matter: insulated shell, HVAC choices, and contractor selection determine long-term performance, timeline, and overall cost.
Understanding Barndominiums
You’ll see barndominiums marry a metal or post-frame agricultural shell with full residential interiors, typically between 1,200 and 3,000 sq ft; build timelines commonly fall in the 4-9 month range depending on site work and finishes. Pre‑engineered trusses and open-span framing let you add a 500-1,500 sq ft shop or garage within the same envelope, cutting both material and labor compared with separate structures.
Definition and History
You should know the term began as barn-to-home conversions in rural America and evolved into purpose-built residences using post‑frame or steel building systems; barn construction techniques date back decades, while the label “barndominium” gained mainstream attention in the 2010s as prefab metal shells and DIY culture made them accessible to homeowners and builders alike.
Benefits of Barndominium Living
You get fast construction, high durability, and flexible floor plans that accommodate combined living and workspaces-per-square-foot costs often range $70-$150 depending on finishes, and metal exteriors substantially lower long‑term maintenance. Also, the open-span structure simplifies mechanical routing and gives you efficient, highly adaptable interiors compared with typical stick-built layouts.
For more detail, you can leverage several concrete advantages: spray-foam or insulated-panel strategies push living-space R-values into the R-20-R-38 range for good energy performance; integrating a 1,000 sq ft shop into the same thermal envelope typically saves against building two separate structures; and in many rural zones permitting and site prep reduce development time. Prepare for lender and appraisal considerations-some financing requires builder experience-but the combination of speed, lower exterior upkeep, and customization makes barndos attractive for owner-builders and contractors seeking value and versatility.
Planning Your Barndominium
Prioritize permitting, site work, and a realistic schedule up front: expect 4-9 months from breaking ground to move-in for most builds, with permitting and site preparation taking 2-8 weeks. Budget for unforeseen site costs-graded driveways, drainage, and utility hookups can add $5,000-$25,000 depending on distance to mains. You should also lock in a contingency of 10-15% and get engineered plans to avoid costly mid-build changes.
Choosing the Right Location
Evaluate zoning, access, and utilities before committing: confirm zoning allows residential and accessory shop use, run a perc test for septic, and verify power and water availability. Aim for 1-5 acres for privacy and future expansion, avoid floodplains and steep slopes that inflate site prep, and factor setback requirements (commonly 20-50 ft) plus road access-gravel driveway construction can cost $6,000-$20,000 depending on length and terrain.
Designing Your Space
Decide early how much of your footprint is living versus shop-typical barndos range 1,200-3,000 sq ft with shop areas from 400-1,200 sq ft-and plan ceiling heights (12-16 ft for shop bays, 8-10 ft for living). Incorporate a clear thermal strategy: aim for wall R‑values around R‑20 and roof R‑38 in cold climates or equivalent spray-foam performance, and separate HVAC zones between workshop and residence to control dust and odor.
Drill into structural and systems choices: determine whether a clear-span steel frame or post-and-beam will suit a 30-60 ft shop bay, size mezzanines for 200-500 lb/ft2 live loads if used, and ask an engineer to spec wind and snow loads per local code (e.g., 90 mph winds or 30-50 psf snow loads in many regions). You should also plan mechanicals-estimate 20-35 BTU/sq ft for heating load sizing depending on climate-specify acoustical separation and locked entry between shop and living, and use examples from similar builds (a 2,400 sq ft barndo with 1,000 sq ft shop often allocates 35-45% of budget to finishes and MEP systems).
Securing Financing
You should line up financing before finalizing permits and contracts: construction loans typically require 20-25% down and carry rates about 0.5-1.5% higher than comparable mortgages. Expect lender underwriting to take 2-6 weeks and require a fixed-price contract, detailed budget, and builder approval. For a $250,000 build you’ll likely need $50k-$62.5k down plus reserves; interest-only payments during construction convert to a permanent mortgage when the project is complete.
Budgeting for Construction
Itemize land, site work, foundation, shell, utilities, interiors, and permits-use quotes from at least three contractors. Plan typical ranges: site prep $5k-$50k, foundation $10k-$40k, shell $25k-$60k, finishes $30k-$80k depending on quality. Set a contingency of 10-15% and track all bids in a spreadsheet to compare scope, exclusions, and change-order policies.
Exploring Loan Options
Compare construction-to-permanent (single-close), standalone construction, HELOCs, and cash-out/portfolio loans; construction-to-perm is popular for new barndominiums because it converts without a second closing. Lenders usually expect a 680+ credit score, DTI under ~45%, and detailed draw schedules tied to inspections.
Construction-to-permanent loans typically disburse funds in draws based on completion milestones-common draw breakdowns are foundation 20%, framing/envelope 30%, rough trades 30%, finishes 20%. You’ll pay interest only on amounts drawn; after final inspection the loan converts to a conventional mortgage. Lenders require a signed fixed-price contract, builder’s resume/insurance, line-item budget, and often 6 months of reserves. If your build is $200,000, plan for 4-6 draws, a 20% down payment ($40,000), and interim inspections that can add $500-$1,500 in fees to the closing costs.
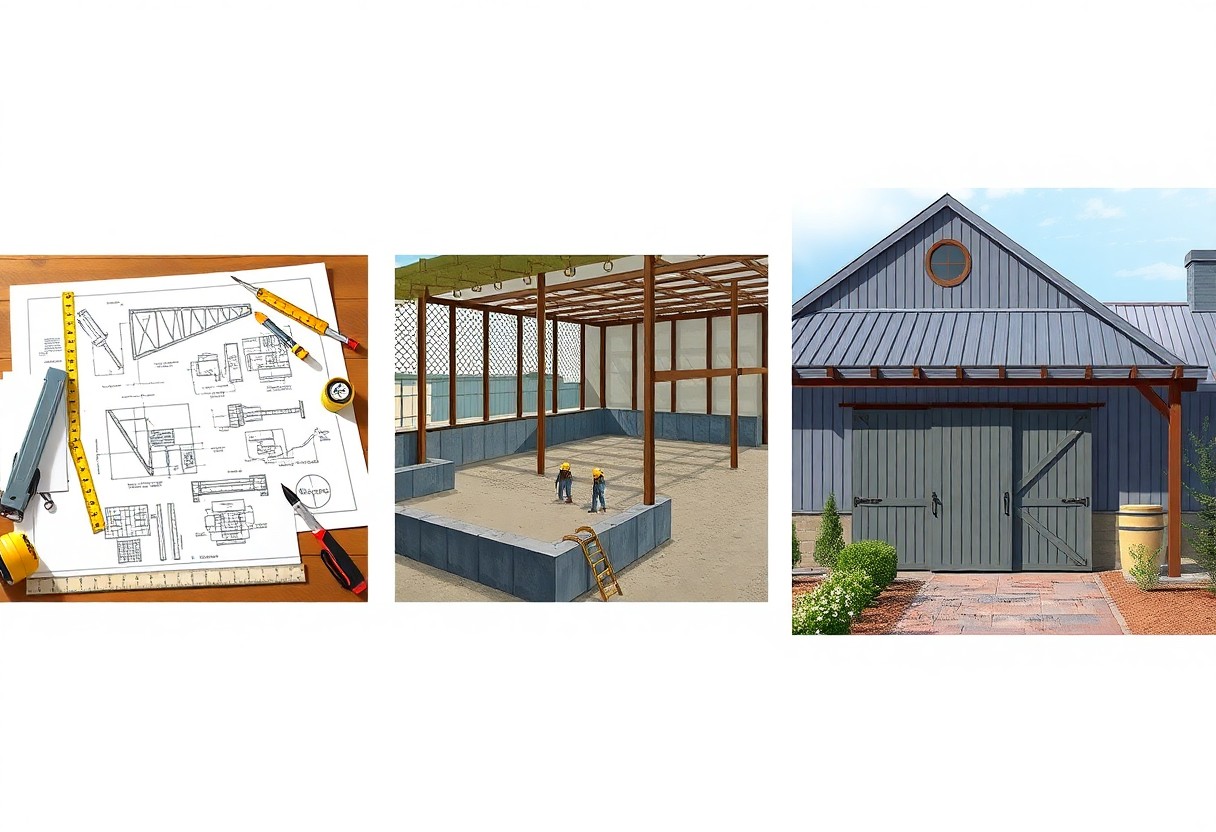
Construction Process
During construction you juggle sequencing, inspections, and contractor coordination to turn plans into a finished home: expect 1-3 weeks for site prep, 2-4 weeks to complete foundations and erect the shell, then 8-16 weeks of mechanical, insulation, and finish work depending on scope-most builds land between 4-9 months. Schedule buffer time for utility tie-ins and two to four key inspections that can pause progress if issues arise.
Foundation and Framing
For foundations you’ll select slab-on-grade, pier, or shallow footing systems based on soil reports and frost considerations; footings, rebar, pour, and initial cure typically take 3-7 days with a 28-day concrete cure for full strength. Framing with post-frame trusses and metal sheathing can raise the shell in 7-14 days for a 2,000-3,000 sq ft plan, while precise squaring, anchor bolt layout, and an early framing inspection prevent costly rework.
Exterior and Interior Finishing
Exterior work often begins with metal panels and roofing while you order windows and exterior doors to match lead times; insulation choices range from fiberglass batt (R-13-R-21 walls) to closed-cell spray foam, and attic targets are typically R-30-R-49. Inside, you’ll sequence HVAC rough-in, plumbing and electrical, then drywall, trim, and flooring-expect 4-12 weeks for finish phases depending on custom cabinetry and appliance lead times.
In practice you should install roofing and weather barrier before interior finishes to protect work. Choosing spray foam versus batts affects installation speed and airtightness-spray foam costs roughly 2-3× more than batts but simplifies sealing and reduces cold bridging in metal frames. Plan mechanical rough-ins and inspections before drywall; drywall taping plus paint for a typical 2,400 sq ft interior takes 7-14 days, while flooring choices like polished concrete or engineered wood change final touch timelines and cost.
Utilities and Amenities
Bring utilities online in logical sequence: trench for water and sewer before slab work, set the 200-amp electrical service and meter pad early, and coordinate gas and broadband conduits to avoid rework. You should decide between municipal sewer, septic, or a well based on lot tests; for a 3-bedroom layout a conventional septic system often requires a 1,000-1,500 sq ft drain field. Plan dedicated lines for high-load equipment like ovens, EV chargers, and workshop tools to prevent costly panel upgrades later.
Installing Electrical and Plumbing
Start electrical by sizing service-200 amps is common-and locating the main panel near future living zones; include AFCI/GFCI protection and 20A kitchen circuits. For plumbing, run a 3/4″ main with 1/2″ branch lines or use a PEX manifold for simplified shutoffs. Coordinate rough-in locations with cabinet and appliance layouts, and book inspections after rough framing: many builders schedule electrical and plumbing rough inspections together to keep a 4-9 month timeline on track.
Heating, Cooling, and Insulation
Choose systems that match the metal-frame envelope: mini-split heat pumps (9k-36k BTU heads) are efficient for open plans, while central HVAC may suit multi-zone designs; aim for wall R-values between R-13 and R-21 and attic R-38 to R-60 depending on climate. You should include a thermal break between metal siding and interior framing and consider closed-cell spray foam (≈6-7 R per inch) at eaves to control condensation and air leakage.
Run a Manual J load calculation before purchase: a 1,800-2,200 sq ft barndo often needs 18k-36k BTU total heating/cooling capacity depending on insulation and glazing. Also factor in ventilation-an ERV/HRV can manage humidity and bring fresh air without major energy loss-and size ductwork to keep static pressure low; sealing ducts to under 5% leakage and using MERV 13 filters improves efficiency and indoor air quality.
Landscaping and Outdoor Spaces
Integrate grading, drainage and topsoil placement into your timeline: grade 2-4% away from the slab, spread 4-6 inches of screened topsoil, and stage planting after final irrigation is installed. You can allocate 30-50% native plantings to cut maintenance and water use; install 1-2″ mulch beds, and plan hardscape thresholds so patios and walkways tie directly to door elevations for seamless transitions.
Enhancing Curb Appeal
Frame your barndominium with a defined driveway and entry: choose crushed stone for a rural look at roughly $0.50-$1.50 per sq ft or concrete/pavers for a cleaner edge; add two low-voltage path lights per 25-30 feet, place one or two 15-25 ft canopy trees at least 20 ft from the building, and use symmetrical foundation plantings 3-4 ft high to balance the metal façade.
Functional Outdoor Areas
Design outdoor living to match how you’ll use it: allocate a 12’x12′ (144 sq ft) dining patio or 16’x20′ (320 sq ft) multi-use patio for seating and cook stations, place a 10-15 ft service clearance behind outdoor kitchens, and confirm setback and septic-clearance rules before siting decks, sheds or detached garages to avoid rework.
Specify materials and technology for longevity: slope hardscapes 1/4″ per foot away from the house, use permeable pavers or gravel in high-drainage zones, run a dedicated 20-amp GFCI circuit for an outdoor kitchen, and locate fire features at least 10 ft from structures; these choices cut maintenance and meet most local inspections.
Final Words
Summing up, you can transform a blueprint into a functional barndominium by following methodical planning, smart material choices, and clear communication with contractors; your active involvement from site prep through framing to finishes keeps the project on schedule, within budget, and true to your design goals.
FAQ
Q: What are the major phases from blueprint to a finished barndominium?
A: The process typically follows these phases: design and engineering (site survey, floorplan, structural drawings), permitting and utilities (permit applications, utility hookups, septic or sewer design), site preparation and foundation (grading, soil compaction, footings or slab work), shell construction (post-frame or steel frame erection, roof and wall panels), rough-ins (electrical, plumbing, HVAC installed and inspected), insulation and interior framing (insulation strategy, interior walls, vapor management), finishes and trim (drywall, flooring, cabinetry, fixtures), final inspections and punch list, and exterior grading/landscaping. Each phase can overlap; plan lead times for engineered drawings, permit processing, and material deliveries to avoid downtime.
Q: How do I choose between a steel-framed barndominium and a post-frame (pole) system?
A: Steel-framed systems offer high strength, long spans, and resistance to rot and pests; they can simplify rapid enclosure and allow open interior layouts. Post-frame (timber poles) tends to be less expensive for certain spans, integrates well with conventional wood framing interiors, and can be easier to modify on site. Consider local climate, desired interior layout, insulation strategy (thermal bridging is greater with steel), available contractors with experience in each system, and long-term maintenance. Obtain cost comparisons for the exact design and factor in foundation differences and connection details for the chosen system.
Q: What foundation types are best for barndominiums and how should the site be prepared?
A: Common options are slab-on-grade with thickened edges and frost footings, stem wall foundations with slab infill, and pier foundations for raised floors. Site prep requires soil testing to identify bearing capacity and drainage characteristics, clearing, cut/fill and compaction, and establishing proper drainage away from the building. Frost considerations determine footing depth in cold climates. Coordinate foundation design with structural engineer and local code requirements, and include sub-slab utilities and vapor barrier planning before pouring.
Q: Which insulation and moisture-control methods work well for metal-sided barndominiums?
A: Closed-cell spray foam at the roof and wall cavities provides high R-value, air sealing, and moisture control but is costlier. Open-cell spray foam offers air sealing but needs a vapor management strategy in cold climates. Fiberglass batts or rigid board with an interior vapor retarder combined with a thermal break can be economical if installed correctly and if condensation risk from metal panels is mitigated. Ensure continuous roof insulation or a well-ventilated roof assembly to prevent moisture buildup. Include ventilation, proper flashing, and a drainage plane behind exterior panels to control water infiltration.
Q: What are typical timelines, major cost drivers, and how can I manage budget overruns?
A: A straightforward barndominium shell can be erected in a few weeks; a complete finished build commonly runs 6-12 months depending on complexity, permit delays, and subcontractor scheduling. Major cost drivers are site work (grading, utilities, septic), foundation type, shell material and thickness, insulation and HVAC design, interior finishes (flooring, cabinetry, fixtures), and specialty systems (solar, radiant heat). To manage budget: get multiple bids, set a contingency (10-20%), lock in material selections early, phase work if needed, monitor change orders closely, and hire a project manager or general contractor experienced with barndominium builds to coordinate trades and inspections.
Leave a Reply